*A Side Note* Are any of you who subscribe via email getting notifications from my blog? Would you please let me know. Thanks. I think there is a glitch with Blogger. OK, on with today's post!
I have been putting this off for a bit now, but only delaying the inevitable. I can't change the date of graduation just by not posting my project pics, lol. Sigh.
My Display Tray turned out really different than I originally intended, but I love that it did! Sometimes you just have to be flexible with a project, even if you think you have it all planned out. I thought I would put one picture for each year of school since there were 12 slots. I did not take into account that fact that my daughter would nix some of those pics, lol! I did allow her to have a say in the final product, including the
Ivy Lane theme, and here it is! (Lots of pics...sorry!)
Our
Designed Decor Display Tray is SO versatile for cherishing and documenting your precious memories. I used both retired and current products to create each of the different boxes. This one features the
Ivy Lane Complements and a flower from the retired Frosted Assortment. I love when older products combine well with new ones!
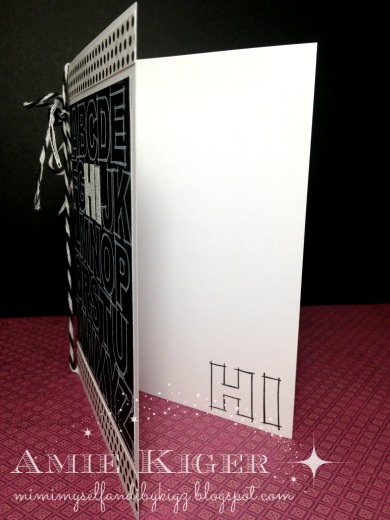
A girl needs glitter! Well, this girl does anyway...so I was sure to use the
Pink Glitter Paper to back this picture along with the retired Glamour Glitter Alphabet. The pic is popped up with our foam tape which is hard to see with all that sparkle! ;)
I adore this little tag I created with one of the Complements stickers and retired Cherish the Day My Acrylix stamp set. I used some retired Color Ready Seam Binding Ribbon and
Bitty Sparkles to glam this one up...
Banners are just beautiful ways to display a name, and this one turned out JUST right. The flowers are from the retired Bitty Buds Assortment...I know, I know, I wish they were still available too! The pennants are cut with the Art Philosophy Cartridge. There is still time to get this amazing staple Cricut Cartridge FREE! Click
HERE for all the details...
It ended up being SUPER-easy to add the banner to the Tray with these clothes pins that I attached using my trusty, must-have-on-hand-at-all-times,
Liquid Glass...
The overall feel of this frame is very elegant, so I used flowers from the Ivy Lane Assortment and the retired Frosted Assortment, AND was sure to add a very romantic
Sparkles Flourish to this box...
Vellum, anyone? One of my new favorite things is vellum! I stamped this image from
School Years with White Daisy Pigment Ink and zapped it with a heating tool to dry. You always have to be careful about placing adhesives on your vellum because it will show through. One of my favorite methods for dealing with this is embellishing right over it! I used the
Rosewood Mini-Medley A here to do just that. This picture was a true 4 x 6 which fit perfectly when chopped right down the middle due to the pose.
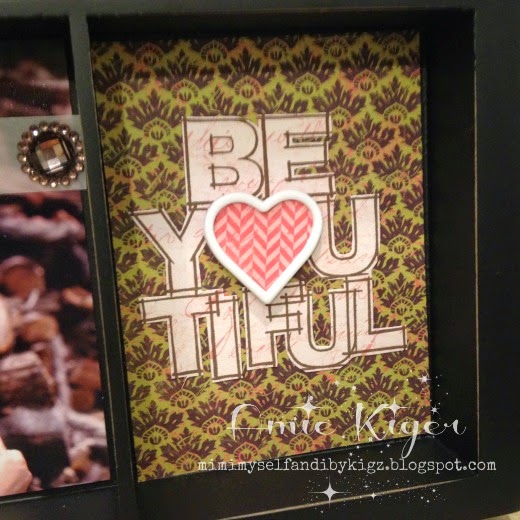
And now my favorite Embellishment! Ever since I got my hands on these
White Marquee Enamel Shapes, I have loved the look of backing them with patterned papers. I did that here to replace the "O" in this clever play on the word, "BEAUTIFUL" that I stamped with the
Framework Alphabet. My daughter is by no means afraid to be herself, and I am very grateful for that blessing. This sums her up in one word perfectly.
There you go! This has been my ultimate labor of love project! I just need you all to help me out with ONE little detail! I cannot for the life of me decide what to do about the middle two boxes behind the banner. Should I leave it black or add these green papers? I don't like being so indecisive, and I really love it both ways, but what do YOU guys think!? Please, please leave me a comment to let me know your thoughts! :) I will chose a winner at random from all the comments to send a little thank you gift to at the end of the week, ok? Ready, set, go!
ALSO! Speaking of vellum...I wanted to show you a sneak peak of something you will see on tomorrow's Damask Divas Blog Hop project! I have been waiting forever to share! Are you as excited as I am? :)
AND last but not least at all, today is THE LAST day to purchase the new consultant kit and receive your choice of Cricut Collection absolutely FREE! No strings attached, I promise! :)
Click
HERE to see more or sign up for the kit!
AND it is the LAST DAY to get your hands on the AWESOME stamp of the month on
my website!
Can you handle one more? AND it is the FINAL day to make any purchase and be entered to win the Mother's Day My Acrylix!!!
SHOP HERE on my website today for these deals!