We interrupt your regularly scheduled blog posts with a quick challenge entry! This one does double-duty today. I recently received some new Paper Smooches stamps and dies, and when I saw the sketch for Mojo Monday 331, I knew EXACTLY what to do with them! :)
I have had my eye on several different brands of jar stamps/dies, but the Paper Smooches version, Crystal Clear, finally won me over. I thought this sketch was certainly begging for it--don't you?
I used the patterns in the
Ivy Lane Paper Packet for bit of feminine flair on this card with the recipient in mind. I created a jar full of hugs by adding a label shape from my leftover Cricut cuts--this one is found on the Cricut Artiste Cartridge exclusively from your friendly CTMH consultant, like ME! ;) The hand-drawn boarder I added matches the adorable stamped tag that I tied onto the jar with the brand new CTMH
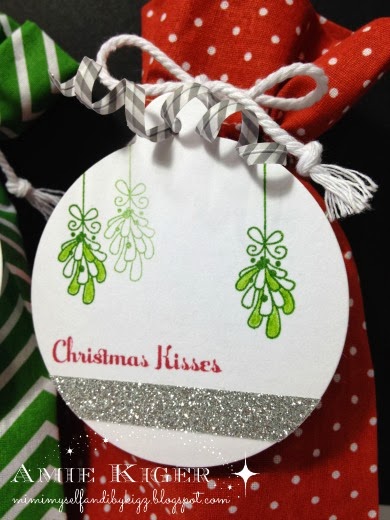
Baker's Twine Neutral Metallic Assortment. I love the added bit of silver in there to go with the
Silver Geometric Washi Tape I used to covered the jar lid.
The hugs sentiment on the jar label is from the
Paper Smooches We Connect acrylic set. I found that tiny heart on another new PS stamp set of mine, Scripty Sayings. It was just the perfect addition to the tag since it complemented my lopsided hearts so well! :)
Now, lets talk about these hearts. The "lop" heart image is found on the Cricut Art Philosophy Cartridge that is also exclusively available from Close to My Heart. ;) I used three different sizes cut on REAL dial size--2, 1.5, and 1 inch, then inked all the patterned papers with Hollyhock ink on the edges to give it some separation.
Now, I know this is not going to sound like me, but I wanted to keep the sparkle on this one to a minimum due to the circumstances behind the card. The
Flamingo Dots and retired Licorice Opaques were the perfect embellishments to add in this case.
Finally, I needed an element for that diagonal on the sketch. I really wanted to draw in the grey color a bit more, so I grabbed my trusty
Slate Striped Twist Ties! I thought a little twisty embellishment would look nice in the heart cluster as well.
I am linking up with
Mojo Monday as well as the
Paper Smooches Sparks Challenge Blog for Anything Goes!
Thanks for letting me sneak in another post today! :)